Macshop is a workspace where people and AI Agents work together. Use Claude Code, Codex, and other Agents to write code, build webpages, or organize research, then inspect files, check results, and make changes with your teammates.
The work can run in the cloud, on your own computer, or on a Dedicated Mac. This guide starts with your first task and shows what each feature is for and where to begin.
Looking for Google's similarly named product? See Google Agentspace vs. Macshop to check which one you need.
New here? Start with one small task
- Create a Workspace. Sign in to Macshop and create a Workspace for your project and conversations. For a first try, choose a cloud computer; you do not need to install local development software first.
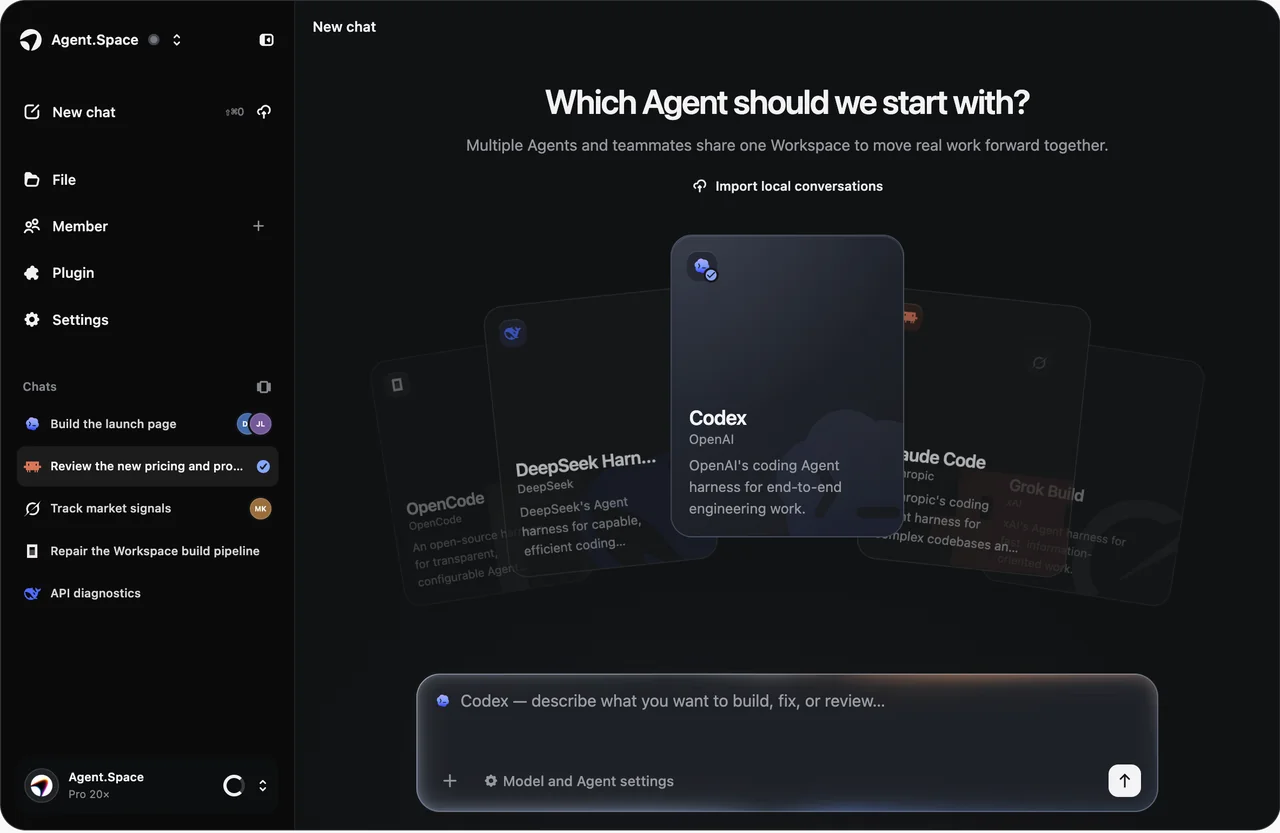
- Choose an Agent and a model. In a new conversation, select an available Agent such as Claude Code or Codex, then check the compatible model and available allowance.
- Describe the outcome. Provide the goal, materials, and acceptance criteria. For example: “Build an event information page with the time, location, and signup instructions. Make it work on phones and save the files in the project.”
- Open the result, then request changes. Open the output from a file card in the reply or from Files in the sidebar. Check the content, preview, and buttons before describing what needs to change.
Success means you can find and inspect the result, not just that the Agent says it is done. For a step-by-step exercise, follow Your first webpage.
Find the feature for your task
You do not need every feature at once. Complete a task in a conversation first; invite members when you need collaboration and connect plugins when you need external data.
How do multiple Agents work together?
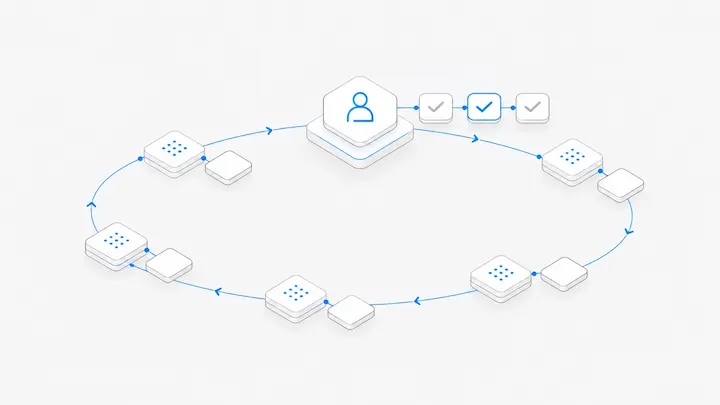
You might have Claude Code build a page and Codex inspect the changes. Give the second Agent specific files, a goal, and review criteria instead of just saying “carry on.” Project files can support the handoff, but a different conversation does not automatically know all the background.
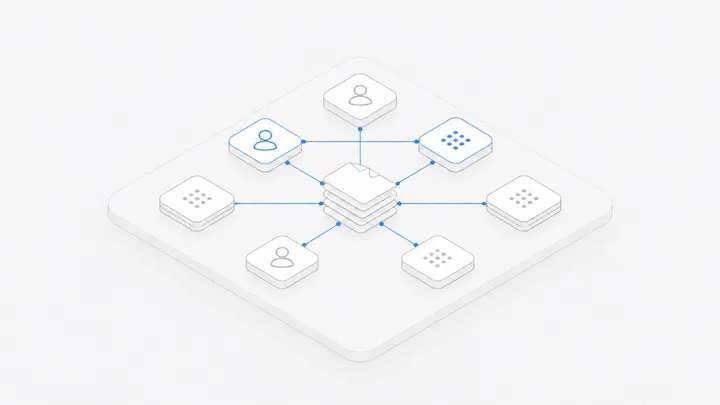
When several people are editing, agree on responsibilities first. Dynamic view helps you follow progress, and member permissions control who can act; neither replaces clear assignments or checking the result. See Work together, and for what a team needs before working this way, What is multiplayer, multi-agent collaboration?
If you already work in local Claude Code, you can also get a second opinion through a plugin. See how to have Codex review Claude Code's work.
When should you use plugins and widgets?
When an Agent needs to read from an external service, check for an appropriate plugin and confirm that its connection works. To keep track of project progress, ask Bento to turn a real file or connected data source into a widget.
For example: “Read the project's task table and create a widget showing completed tasks and remaining work. Include the update time.” Check the data after the widget appears; placing it on the map does not schedule daily refreshes. See Plugins and Bento.
Cloud, your own computer, or a Dedicated Mac?
Your own computer needs to remain available; a cloud environment does not promise that every process runs forever either. If you need a separate machine, consider a Dedicated Mac. Renting hardware does not automatically include every model or eligibility for an official account.
Use Remote Screen when you need to operate another Mac's desktop yourself. It provides screen access and control, not model access. Explore Remote Screen.
For the actual connection steps and the difference between viewing and controlling a conversation, see cloud and your own computer.
How do models, plans, and the API fit in?
Working inside Macshop: Check available combinations in the model selector. Compare models and channels in the marketplace, and see plans and usage-based costs on the pricing page. Check computer costs, model costs, and existing account costs separately; one allowance does not make every feature free.
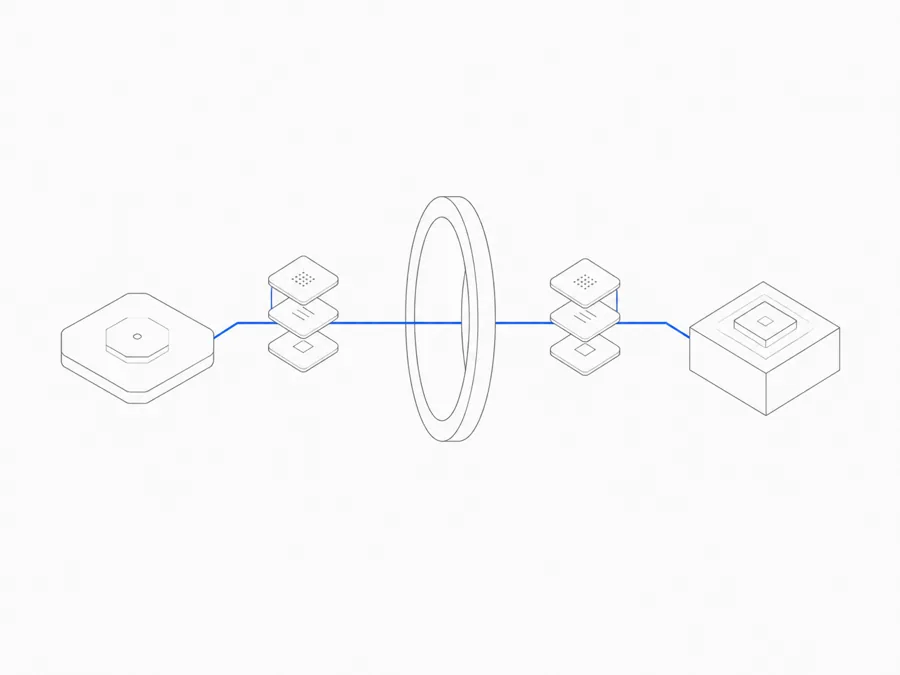
Keeping your own Claude Code, Codex, or OpenCode setup: Use the Model API to connect to available Macshop models. Get an API key, configure a compatible model and endpoint using the client instructions, then verify a small request. Connecting an API does not automatically upload your project or migrate conversation history.
Already have a provider API key? Connecting it inside a Workspace is a different direction from the Model API above. The models and usage manual explains both paths, who pays, and where to check usage.
If your goal is a personal portfolio website and you would rather commission the result, start with a portfolio website cost breakdown and compare templates with custom work. Check the services marketplace for current availability and the specific delivery scope before ordering.
Start with what you need today
- Want to try a task? Create a Workspace, choose a cloud computer, and complete something small.
- Want a separate computer for Claude Code? Check Dedicated Mac specifications and rental conditions first.
- Want to work with teammates? Follow the teamwork instructions to invite members, divide the work, and inspect shared results.
- Want to keep your existing tools? Explore the Model API and check compatible models and connection instructions.
Start using Macshop. For detailed instructions, find the relevant chapter in the product manual.