Your browser is the window into Macshop. The computer doing the work can be in the cloud or one you connect yourself. First check the computer, then the Agent and allowance being used. These three choices are related, but they are separate.
Which path matches what you want to do?
Choose a cloud computer, your own computer, or a Dedicated Mac separately from these actions. Renting a Mac provides a computer, not every model subscription or eligibility for an upstream account.
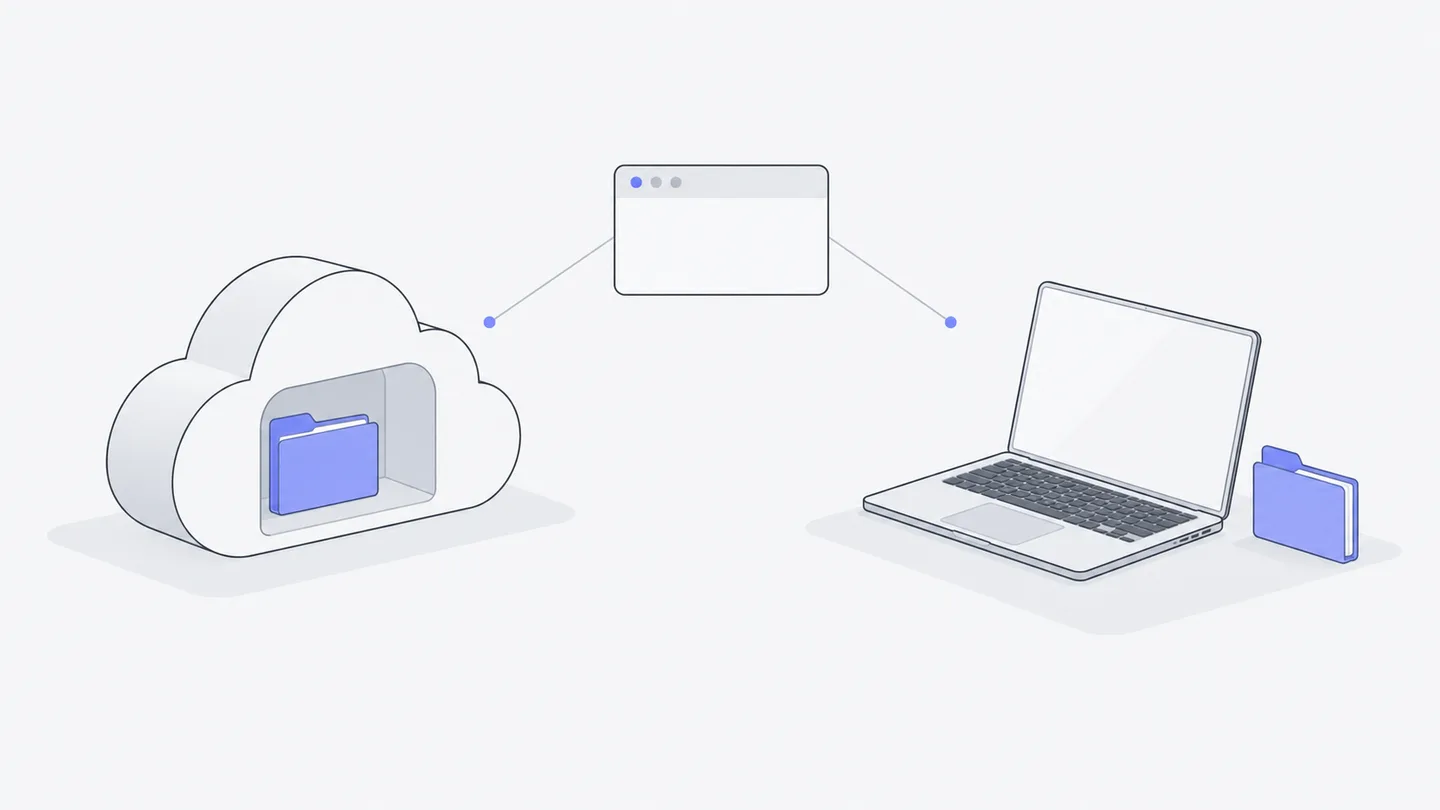
- Cloud computerA managed workspace in the cloud
- Your computerYour device and its project files
- Dedicated MacA separately ordered Mac environment
The diagram shows three places to work: a cloud computer, your own computer, and a separately ordered Dedicated Mac. After choosing a location, distinguish controllable local tasks from read-only sync: sync displays local conversations on the web without giving the browser control over them.
Choose the Workspace runtime first
When creating a Workspace, a cloud computer suits exploration and lightweight tasks. You do not need to install an Agent on your own computer. The cloud environment starts on demand and sleeps when idle. The cloud location chosen at creation determines where files live and cannot be changed afterward.
If you choose “My own computer,” first install and open the Macshop Mac or Windows App on the target computer. Select “Create with the app on this computer” and allow the browser to open the App. On the approval page opened by the App, check the computer and Workspace name, then select “Create and deploy on this computer.” Once the App takes over, select “Open the Workspace” to check installation and connection progress. A computer Workspace cannot be changed to use a cloud computer after creation. It depends on that computer being powered on, online, and connected. Being able to open the website does not mean the computer is online.
If unsure, start with a cloud Workspace using Your first webpage. Choose your own computer when you specifically need its files, tools, or accounts.
Workspaces connected to your own computer currently hide “Scheduled tasks” in the sidebar; do not assume the corresponding cloud Workspace steps apply.
Check saved files and running programs separately
A Workspace contains files, members, and multiple Sessions. Closing the browser does not delete saved files or conversations. Temporary programs can stop because of sleep, a restart, or an error. Files still being present does not mean a development server is still running.
Conversation attachments are inputs to a task, not a place to rely on for long-term project storage. To retain materials, copy this request:
First tell me which computer and project directory you are working in. Save the materials we need to keep in the project's materials folder and list their paths. Do not change other files yet.
Then open the file list to verify the paths and contents. Cloud Workspace files, the folder selected for a local task, and paths mentioned in conversation history are not interchangeable.
Use a local Agent from the web
On a Mac, open the connection guide on the website, install and open the Macshop Mac App, connect the appropriate Workspace, and select the project folder from the Mac menu bar. To use local Codex or Claude Code, install its command-line version and sign in on that computer. A chat desktop app alone is not enough. After installation, click the Macshop icon in the Mac menu bar and it will detect again.
Back on the website, select the target computer from the new-conversation screen or the computer selector below the composer. Choose “Use this computer's Agent (your subscription).” Check the computer, folder, and Agent, then send a small task:
Look at the current folder. Tell me which files it contains and which one is likely the webpage entry point. Read only: do not install dependencies, run the project, or change files yet.
Success means local task progress appears on the website and the computer and subscription owner match your intention. Authorize specific changes afterward. This path uses the computer's sign-in and subscription, without consuming Macshop credits. “Where the cloud Agent works” is a separate option: it lets a cloud Agent read and edit a local folder, with usage-based credits as described in the UI. The same Mac can therefore be involved in different billing paths.
The computer owner can let members use local Agents by setting the computer's “Chats & files” to Everyone in the app, which means the Workspace's Owners and Editors. Allowing file operations inside a folder does not automatically allow commands or network access. “Allow everything” or full access may permit changes outside the folder, and whoever sends a task chooses its permission mode. Approval requests go to the person who sent the task; the computer owner cannot answer them for that person. Read the sharing notice, and see Work together for Workspace roles.
Display local progress with read-only sync
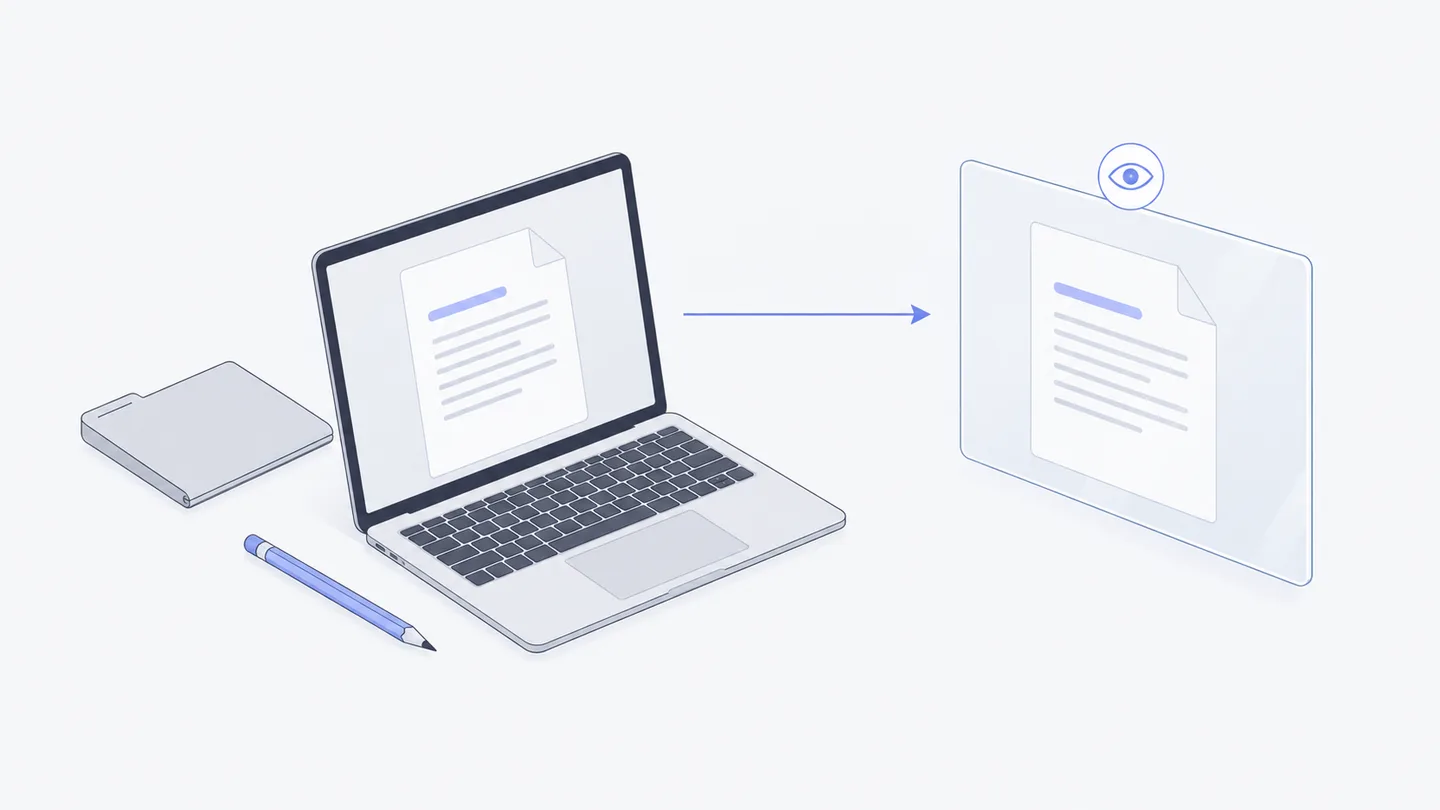
Turn on conversation sharing for a folder in the Mac App's Workspace folder list. New local conversations in that folder can then appear in the Workspace. Older conversations may also be synced when you continue them locally; sharing is not limited to newly created conversations. You still operate Codex or Claude Code locally. The website says “Synced from computer, view only” and has no composer for continuing that mirrored conversation. This is expected behavior; changing Workspace permissions does not turn the mirror into remote control.
Newly enabled sharing includes images. Older shared folders without image consent display “Images aren’t shared”; the computer owner can confirm “Share Images…”. Image sync has limits: an image larger than 10 MB, a missing local original, a count limit, or a transfer failure produces a specific message. Synced text does not prove every image arrived. Check the thumbnails and errors.
When the computer is offline, check the last update time. Visible history is not fresh execution progress. To start a local task, use a controllable conversation as described above.
For a sharing-focused checklist, see sharing a local Claude Code conversation with teammates, including what to inspect before enabling sharing and when to prepare a handoff instead.
Dedicated Mac and Remote Screen
A Dedicated Mac is a real Mac that requires a separate reservation and delivery, not an instant free cloud upgrade. Check current availability, delivery status, subscription, and renewal notices. Connect it to the Workspace after delivery. It suits macOS tools and work needing longer availability, but an online computer does not guarantee every program will run without failure.
Before ordering hardware for Claude Code, use the Mac rental checklist to separate computer specifications, model access, and ongoing costs. Check current availability and rental terms on the Dedicated Mac page.
Remote Screen controls a Mac's actual screen. Enable remote control in Macshop on the target Mac first, then choose “Remote control” in the Workspace computer list. A connected Mac can open it in the App; other devices connect through the browser. Members are also subject to the owner's “Remote control” setting for that Mac: Only you, or Everyone, meaning the Workspace's Owners and Editors. Unlike a read-only conversation mirror, these actions affect the real desktop.
If you are unsure whether you need the Agent conversation, a terminal, or the whole desktop, compare Remote Control, SSH, and remote desktop before choosing an access method.
If offline, check power, network, and the App first. If an Agent is not detected, check its command-line installation and sign-in. Before restarting a Workspace, read the confirmation: tasks and temporary services are interrupted; saved files, chats, and queued tasks remain; Agents that cannot resume need a new conversation.